Multiline Text
Add more than one line of text to the drawing.
|
Icon |
Command |
Shortcut Key |
Toolbar |
|
|
TEXTMULTI |
|
Drawing |
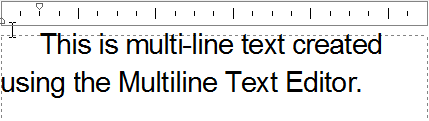
This function allows you to add a text paragraph, which contains more than one line of text, by defining a box that contains the text and adding the text using the Multiline Text Editor.
Most common text editing and navigation keys are supported by the text edit window, such as [Ctrl+A], [Ctrl+C], [Ctrl+V], etc. You can apply formatting to parts of the text by selecting the text and changing the font, etc.
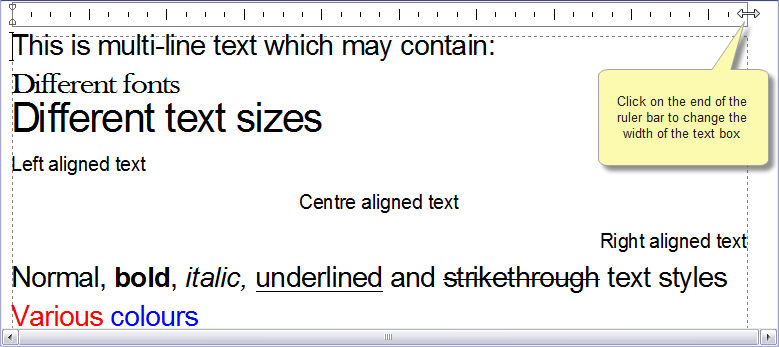
Adjust the TABS and indents by means of the Ruler Bar.
 If you have specified a text box with insufficient width, you can manually alter the width of the box using the Width edit box.
Procedure
- You are prompted to:

-
Click in the drawing to indicate the top-left point of the box.
- You are prompted to:

The cursor is attached to a sizeable rectangle that defines the multiline text box.
You can change the multiline text style, text height, angle and alignment (see Single Line Text) in the Text Bar before entering the bottom right corner of the text box, or change the settings when the Multiline Text Editor displays.
Click Pick to pick text settings from an existing text entity.
- Indicate the bottom right corner.
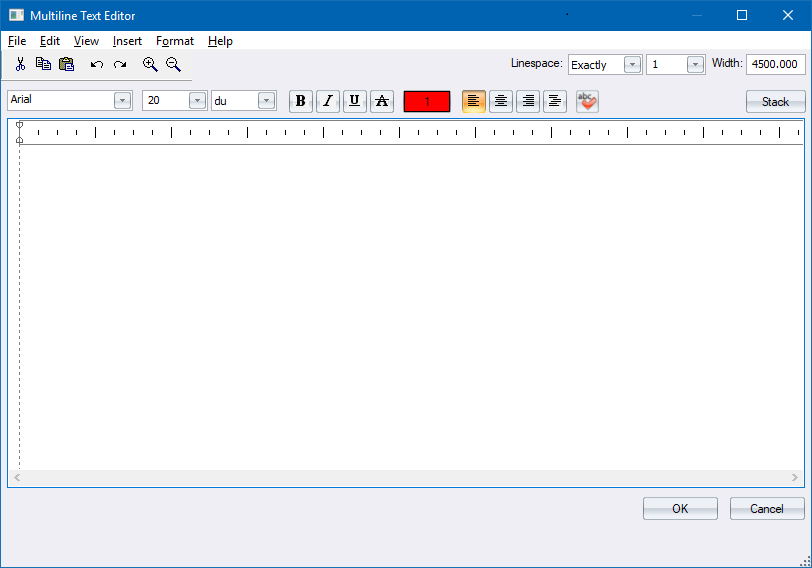
- The Multiline Text Editor displays.
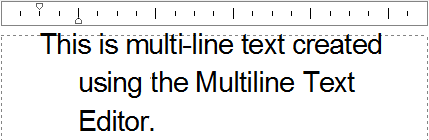
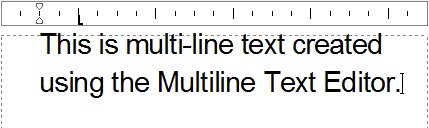
- The text flows to fit into the width of the box. Input the required text.
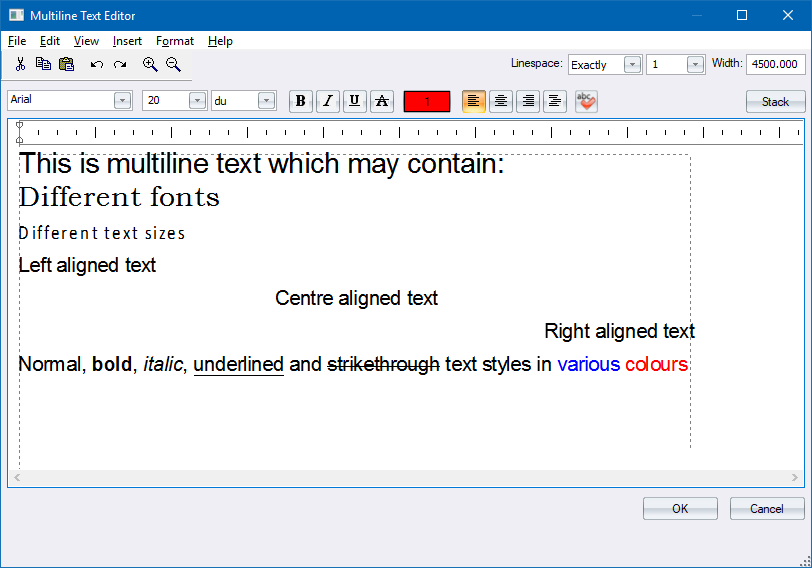
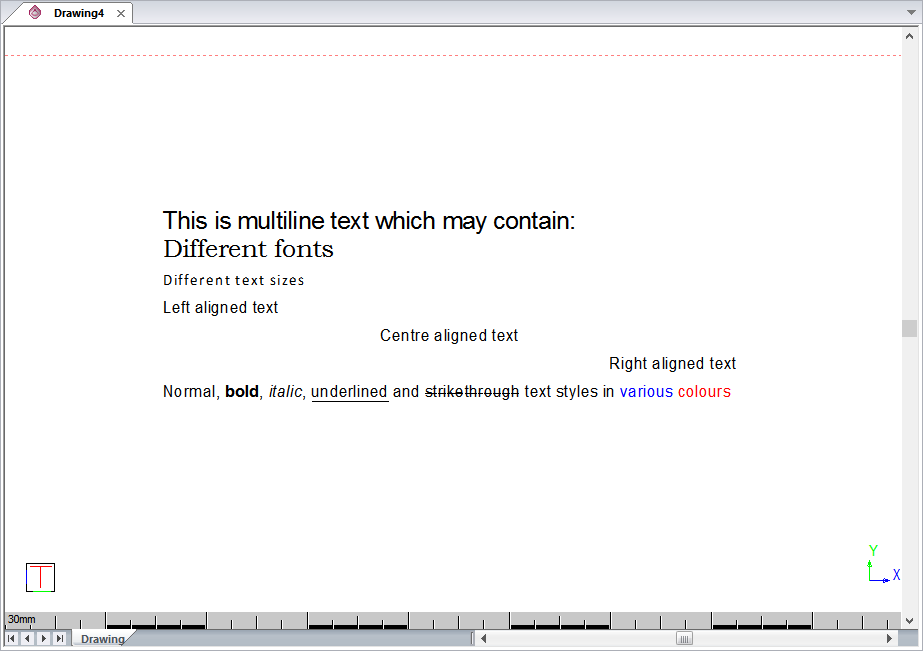
The Multiline Text Editor is WYSIWYG, which means the text you input into the editor looks exactly as the text that will appear in your drawing.
You can change the text properties in the text box.
- Once you have typed the text into the Editor, click OK to insert it into the drawing; or click Cancel to go back to specifying the text box position and size.
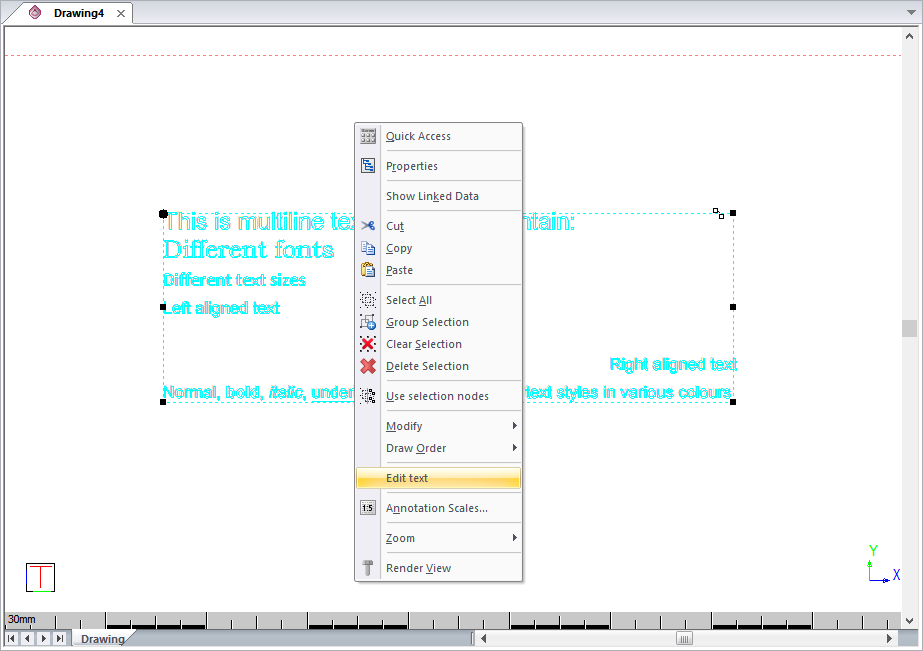
- You can edit existing multiline text by selecting it, and then right-clicking and selecting the Edit Text option.
-
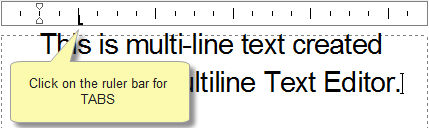
You can change the width of the text box by typing an a specific width value; or by clicking on the Ruler Bar at the top of the text edit window and dragging it.
-
Adjust the text indents using the two sliders on the Ruler Bar.
-
The top slider changes the indent of the text.
-
The bottom slider changes the indent of subsequent lines of text in the paragraph.
-
Use both sliders together to adjust the paragraph indent as a whole.
- To set TABS, click the Ruler Bar where you want the TAB. Similarly select the TAB to slide it up and down the ruler.
- The function repeats once the text is inserted. Right-click and select Quit to end the function. Alternatively, press [Esc].
Remote Text (RText)
A Reactive Text (RText) entity allows you to embed a DIESEL expression in the text that is evaluated/resolved when the RText entity is drawn. Alternatively, the RText can contain a reference to a text file, the text content of which is displayed via the RText entity. RText can be added directly using a file using the Draw Remote Text function.
Creating an RText Entity from an RText Entity
You can convert an MText entity to an RText entity:
-
Select the MText entity you have just drawn, right-click and select Convert to RText from the context popup menu.
- The MText entity is converted to an RText entity.
- In the Properties Bar, you should see the properties for the RText.
- You can change the RText type between the options DIESEL Expression or File link.
- You can edit the expression text.
Converting RText to MText
-
Select the RText entity, right-click and select Convert to MText from the popup context menu.
- The RText entity will be converted to an MText entity.
When converting to MText, all DIESEL references to drawing variables in the expression will be converted to their displayed value i.e. WYSIWYG.
DIESEL
Dumb interpretatively Executed String Expression Language (DIESEL) provides a simple macro expansion facility to AllyCAD and can be used to retrieve and display information about the drawing and its environment.
The following drawing variables can be extracted and displayed using the DIESEL expression in RText:
-
GETVAR
-
-
$(getvar, dwgname)
-
$(getvar, dwgprefix)
-
$(getvar, ctab)
-
$(getvar, loginname)
-
$(getvar, tdupdate)
-
$(getvar, tdindwg)
-
$(getvar, tdusrtimer)
-
-
GETPROP
-
-
$(getprop, LastSavedBy)
-
-
EDTIME
-
-
$(edtime, $(getvar, tdupdate),DD MON YYYY"," H:MMam/pm)
-
$(edtime,$(getvar, tdusrtimer),HH:MM:SS)
-
-
XREFS
-
-
$(xrefs, 4)
-
-
IMAGES
-
- $(images, 2)
Below are some example expressions:
- The following expression will display the layout name and the draftsperson:
Layout name: $(getvar, ctab), Draftsperson: $(getvar, loginname)
- The following expression will display the last saved time and date:
Last Saved Date and Time: $(edtime, $(getvar, tdupdate),DD MON YYYY"," H:MMam/pm)